Removing an embroidery patch is a difficult task for someone without the proper knowledge and skills. This article will discuss simple and easy ways on how to remove embroidery patches. Before moving further on steps and techniques to remove embroidery patches, we need to know what embroidery is.
Table of Contents
What is an Embroidered Patch?
Cloth patches or embroidery patches are small pieces of embroidery created by fabric and thread. They can be attached to cloth in various ways. Some customers like the concept of embroidery patches, but others do not like them; thus, some want to remove embroidery patches from their clothes.
Usage of embroidery patch:
There are many uses of embroidery patches. The most important one is the branding of different companies carrying brand names and logos. Other uses of embroidery patches display skills and identity in the form of skill and identity patches. They are used to document achievements in academics or learning contexts.
Removing an Embroidery Patch:
Although the embroidery patch has many uses, some customers find it unnecessary and want to remove the embroidery patch from their clothes. There are many ways to remove an embroidery patch. Many types of instruments are used to remove embroidery patches. These instruments are handy and readily available to carry out the procedure home.

- Seam ripper: It is used for ripping off the threads attached to the garment or cloth.
- Tweezers: remove the tiny threads from the shirts, jackets, other garments, etc.
- Magnifying glass: for easy picking of threads from the garments.
- Lint brush: It removes extra threads that cannot be hand-picked around the surroundings.
Steps to remove Embroidery Patch
Removing the embroidery patch depends on how the patch is sewn and on which type of fabric or garment it is sewn.
Removing hand-sewn patch:
Removing hand-embroidered patches is a much easier task than removing machine-embroidered patches. It is because these embroidery patches are less tight than machine embroidered patches. The choice on how to start removing an embroidery patch is determined by whether to remove the entire patch or a part of it.

For removing complete patch you can start from anywhere, but if you need to remove little part of embroidery patch. You have to focus on that particular area of patch.
Instructions:
Step 1: The first step is to turn the shirt or garment inside out and place it on a smooth surface of the table. Ensure a good light source to avoid damaging the fabric of the garment.
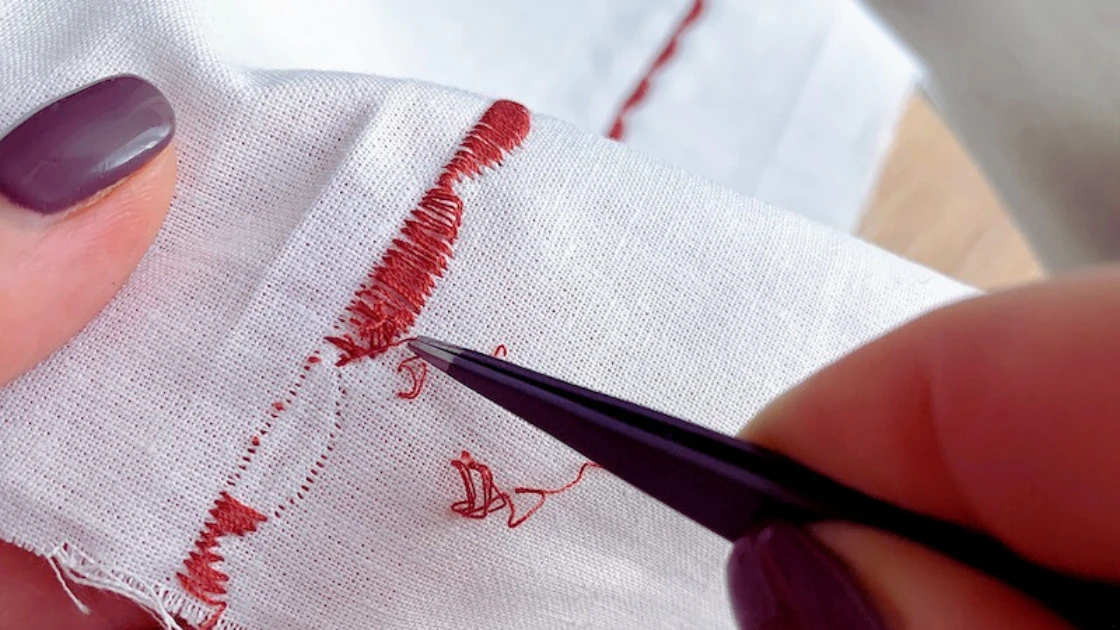
Step 2: Now remove the stitches with seam ripper. Use seam ripper with gentle hand and pick multiple stitches at a time. Do not use extra force; otherwise, it will permanently damage the cloth.
Step 3: After removing the stitches, turn your shirt right side out and use the tweezers to cut and pull out the stitches.
Step 4: Once you are done with these steps, use the lint brush to gather and remove all the loose threads.
Removing machine-sewn embroidered patch:
Machine-sewn embroidered patches are tighter and much more difficult to remove. But they can be efficiently and effectively removed by using these simple steps.

Step 1: Same as in the steps to remove the hand-sewn embroidery patch, the first step is to flip the garment shirt inside out. The machine stitches, called the bobbin stitches, are difficult to remove; thus, they require extra care and knowledge.
Step 2: The second step is to glide the seam ripper underneath the bobbin stitches, and unlike in removing a hand-sewn patch, here we cut 30 to 40 stitches.
Step 3: keep an eye on stabilizer to check if any damage occur on cloth.
Step 4: After doing all the above mentioned steps, use duct tape to remove extra pieces.
A quick reminder that we offer quality best embroidery machine reviews that will come to be an amazing business machine and branded one to meet your custom designing machine needs.
Use of embroidery eraser in removing embroidery stitches:
Using an embroidery eraser is a much easier way to remove embroidery patches and embroidery. This process is more suitable for machine-sewn embroidery patches. To remove the embroidery patch using embroider eraser turn the clothes inside out and push the eraser over the embroidery patches from and edge. After completing one row, move on to the next one until it shaves off the entire embroidery patch.
FAQs
Conclusion
Embroidery patches have many uses and are used extensively in clothing to add style to the garments. However, some customers do not want large patches on their shirts, hats, or jackets, or sometimes they do not want to advertise the brands they are wearing.
In this regard, the people ask to remove embroidery patches from their clothes. You can simply remove embroidery patch at home without any hustle if follow proper methods. If you have the proper knowledge about the steps to remove the embroidery patch, you can remove the embroidery patch without much effort and time.
In this article, we have emphasized step-by-step procedures to remove embroidery patches from clothes using different procedures.