Do you love the applique look but don’t like the hand-sewing part? Well, you’re in luck! I will tell you how to do applique with an embroidery machine. Th process is quite easy in a fun way and result oriented. The post you’re reading will guide you how to do it, I’ll show you how to do it. So get your machine ready, and let’s get started!
Table of Contents
How to do Applique with an Embroidery Machine?
To do applique with an embroidery machine there are a few different ways to do applique with your embroidery machine. The very first method which is simple and easy is to use the built-in applique stich designs that are in you machine. This is the easiest way to do applique, but it does have some limitations. The other way to do applique is to use a special applique stitch file that you can download from your designing machine‘s website or an online store.

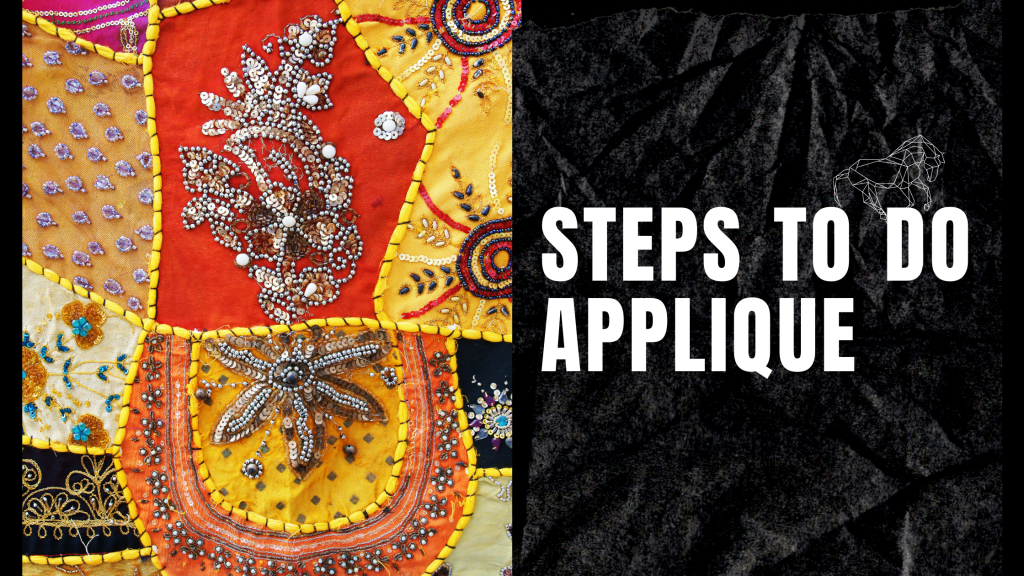
Steps to do Applique
Here are some steps to do applique with an entry-level embroidery machine.
Step # 1
Load your design onto your branded embroidery machine. Make sure that the design is properly centred on the fabric.
Step # 2
Start the applique stitch on your machine. First you need to do is select your proper stich design before further proceeding. You will choose a zigzag stitch or a satin stitch on most devices. Now, here comes a situation where your machine doesn’t consist of these stich types then you can always go with a wave stich.
Step # 3
Place your fabric underneath the needle of your machine and start stitching. As you are doing this, hold down the material firmly so that it doesn’t shift or wrinkle during the stitching process.
Step # 4
After when you’re finished simply and must cut the excess fabric that is around your design. If you have used a zigzag or satin stitch, it is usually best to use a pair of embroidery scissors for this step.
Step # 5
Press your applique piece, if necessary. Some fabrics may require pressing to make them lie flat. Use a pressing cloth to protect your embroidery machine from the heat of the iron.
What is applique?
Applique is an ancient technique that looks amazing and done with sewing one fabric onto another. An applique can be done with two methods: with hands and also with a sewing machine. If you are using a sewing machine, there are a few things you need to do to set it up for applique.

The first thing you need to do is decide on the design you want to create. You can choose any fabric for your applique, from cotton and silk to felt or leather.
Once you have chosen your materials, it’s time to prepare your sewing machine for applique. First, make sure that your presser foot is down and the needle is in the up position.
Next, lower the feed dogs, so they are not moving the fabric while you sew. You can do this by flipping a switch on the side of your machine or by using a lever if your device has one.
Now it’s time to thread your machine. Using a standard sewing machine will involve setting the spool of thread on top of your device and running it through the tension dials and into one of the thread guides located at the side or back of your machine.
Once your machine is threaded, you’re ready to start stitching. Set the fabric you want to applique down on your device, lower the presser foot, and begin sewing.
As you sew, keep a close eye on your fabric to make sure it is moving smoothly through the machine without any bunching or wrinkling. You may need to adjust the speed of your device if it starts to pull or snag the fabric.
Once you have finished your applique, promptly remove the stitches from your machine, so they don’t get tangled or damaged while you work on other projects.
If you are new to applique, it can help to practice on a piece of scrap fabric before moving on to your final design. With a little bit of practice, you’ll be able to create beautiful applique designs on any fabric surface.
Tips
- To do applique with an home embroidery machine, you’ll need first to create a separate piece of fabric for the design. Then, choose which stitches and settings you want to use to create your desired look. Finally, attach the amount of fabric onto your main project using iron-on backing or other adhesive materials.
- Some great tips for creating applique with an embroidery machine include choosing the right fabric for your design, adjusting your stitch settings depending on the material you’re working with, and using a sewing machine or other tools to finish off the edges of your project.
- If you’re new to working with an embroidery machine, it may be helpful to consult with an experienced sewist or embroidery expert for tips and advice on getting started. With the right tools and a bit of practice, you’ll be able to create beautiful applique designs that will add gorgeous detail to all your sewing projects!
- If you want more in depth details and your problems are not solved then you should follow our blogs along with doing your extra research. We cover everything from how to thread your machine and wind a bobbin to how to create different stitches and effects. With our help, you’ll be an embroidery pro in no time!
FAQs
Conclusion
Now that you know the basics of applique with an embroidery machine, it’s time to put your new skills to use! You should experiment with different sorts of fabric and change the designs a bit and see which suits you the most. Once you’ve got a few projects under your belt, you’ll be able to create beautiful pieces of art that will add personality and style to any room in your home. So get creative and have fun with this versatile sewing technique.


Usually I do not read article on blogs however I would like to say that this writeup very compelled me to take a look at and do so Your writing taste has been amazed me Thanks quite nice post